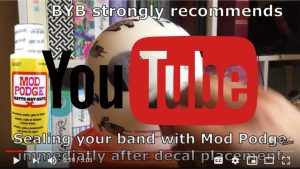
Watch the YouTube version! I have to admit, the YouTube version of the Mod Podge instructions are better then the written word, as you can watch the process!
We highly, strongly, very much recommend using Mod Podge to seal and protect the decals from abrasion damage, and this guide shows more details about using it.
To generate the 1,000 or so designs, we print on white vinyl. That ink is not paper thin, it is microscopic thin. And it is ink, it will not stand up to wear. The decals need a hard protective layer against wear.
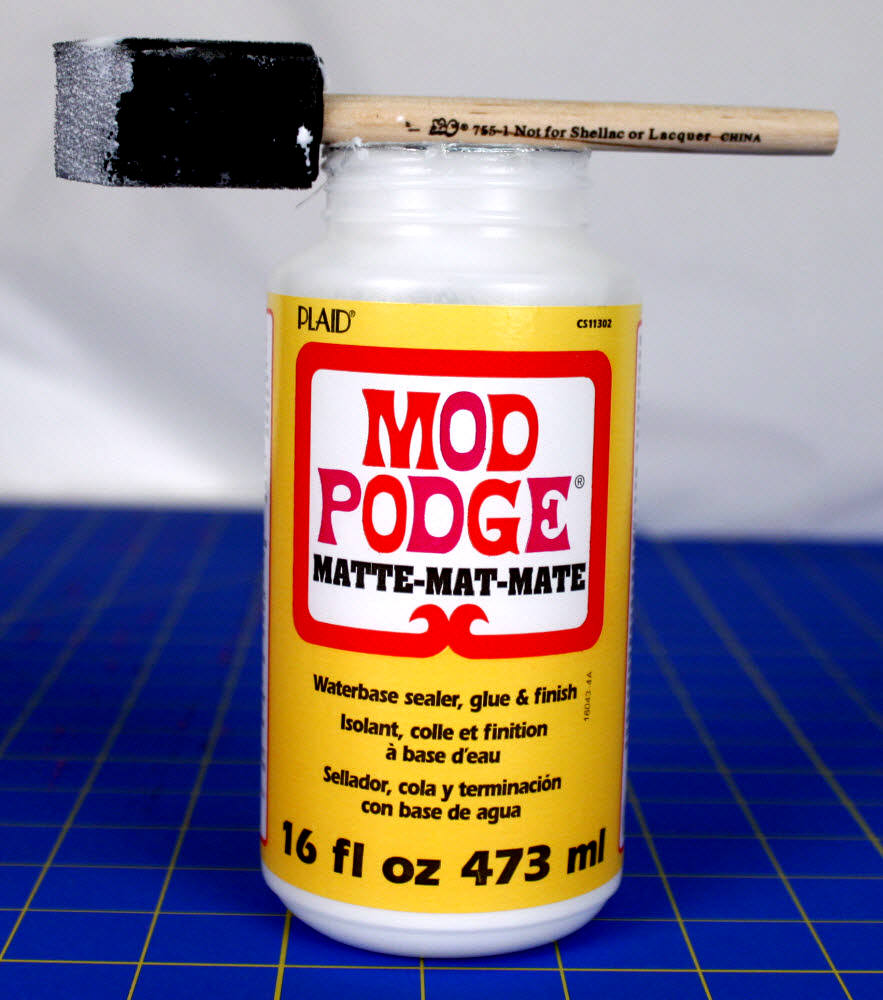
Mod Podge is a great and inexpensive hard shell and you just paint it on. You can use just about any brush you like but we like the foam brushes. They have a nice even edge, and the price is right! Our bottle is matte finish, but glossy is good too!
Before applying the mod podge, we highly recommend sanding the band with the included sandpaper square. Occasionally there are slick coatings that won’t come off with a rubbing alcohol wash and sanding the band takes care of it. You are not trying to remove material, just to roughen the surface.
Sand the entire surface, not just where the decals will be applied to make sure the mod podge bonds to the surface.
This is our definition of a medium coat, and we recommend five medium coats. They don’t all have to go on before your child wears the band with decals applied. We recommend you apply the decals, and then apply the first two coats immediately after. The rest of the coats can wait till later.
What customers say about using Mod Podge
Only the decals and the around the decals need Mod Podge, but aesthetics (particularly on clear helmets) may dictate a uniform application on the band.
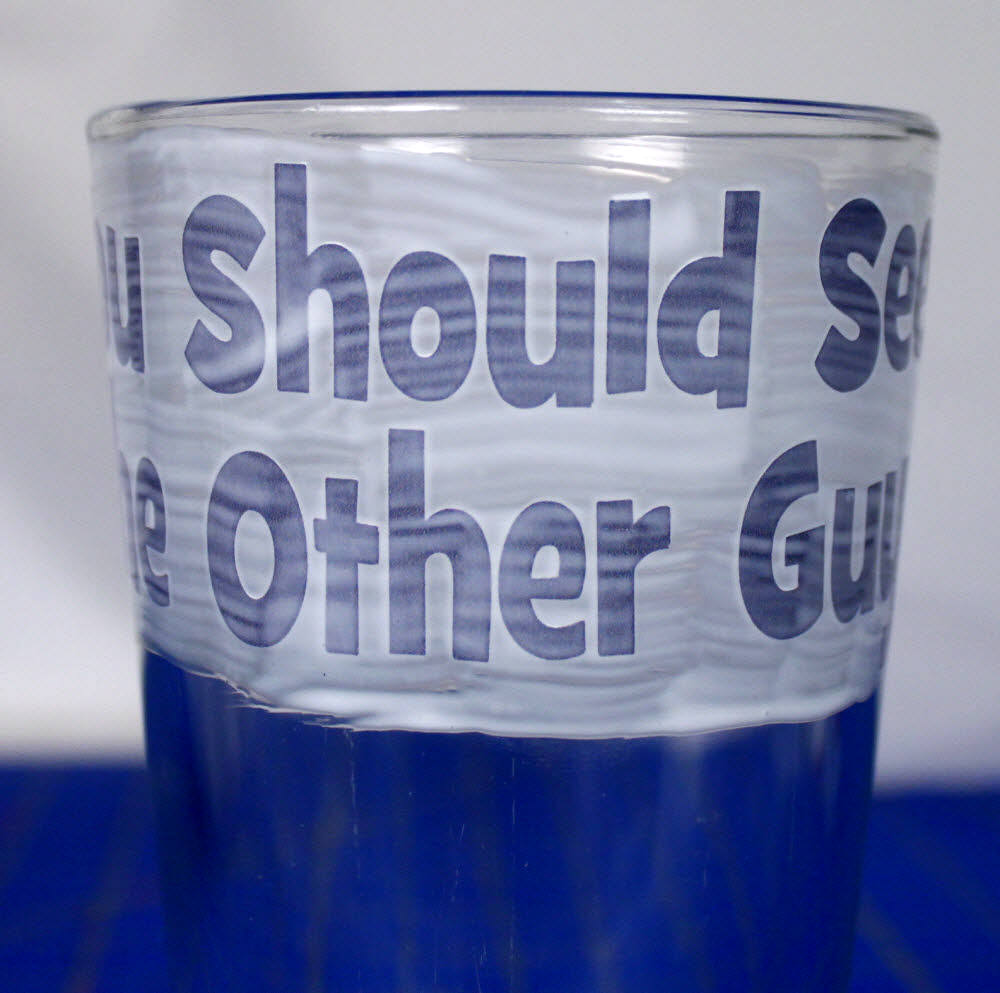 Wet Mod Podge[/caption]Mod Podge in this thickness dries pretty quickly. This picture was taken 5 minutes later.
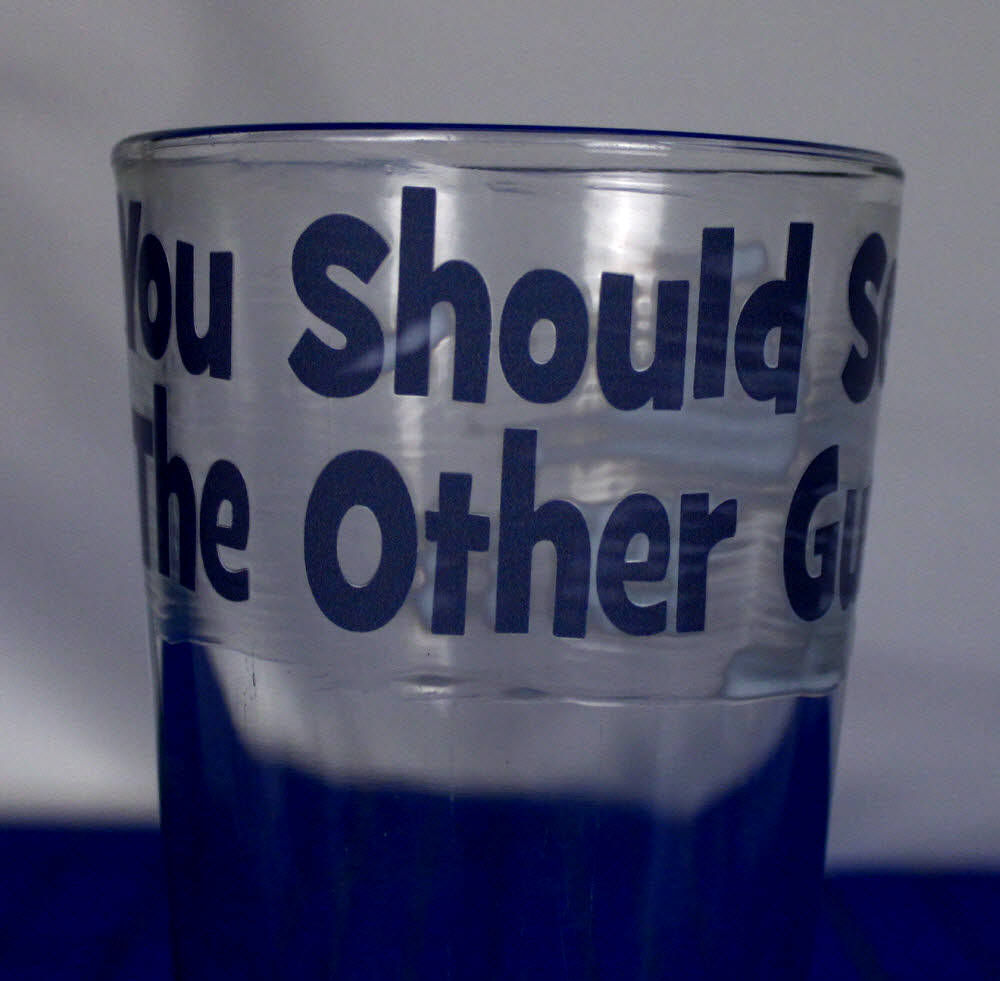
Mod Podge application after 5 minutes – just about ready for another coat if needed. The thickness we are looking for is when you take your fingernail and scrape along the band until you hit a decal, do you feel a sudden step that catches your fingernail, or does your fingernail keep sliding along?
We find that it is the forth coat that builds the Mod Podge up thick enough that a fingernail won’t catch on the edge, and we recommend five coats to be sure. We recommend putting two on the day the decals go on, two the next day, and one the day after.
You have enough thickness when your fingernail keeps sliding and does not catch on the decal edge. While wearing the band, your child moves it against the fabric of bedding, rugs and furniture, and without Mod Podge, that fabric also can catch the decal edges and start lifting them up, breaking off fine points, or sanding the ink off the vinyl. Without Mod Podge protection, damage has been reported to happen with some children in just a few days. We have never had reports of damage from folks who followed this guide, and then gave the decals the fingernail test, and applied another coat as needed (once a week is a good expectation).
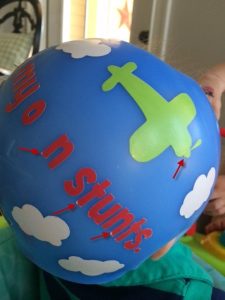
Without mod podge, damage start with the edges and points. This image shows the classic case of a helmet being rubbed on fabric. The fabric catches on the corners of the letters, eventually lifting them up. But the rounded edges of the clouds don’t catch (yet!) and are fine. Following the instructions above will prevent this.
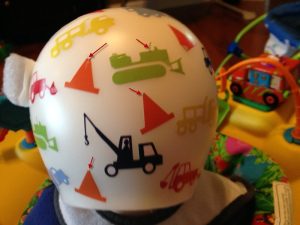
More examples of damaged edges and points. Another example of how points and thin sections fair when exposed to rubbing. The points break off, and the thin parts shift and break off. Rubbing is generally most significant on the back of the helmet because young children lay on their backs.
Fabric and upholstery will sand the ink off the vinyl
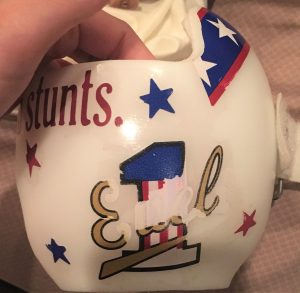
Mod Podge prevents this damage. Mod Podge still protects decals from abrasion wear that don’t have sharp points and aren’t thin as well. The image above shows this little girl is active on her tummy as the name is worn, but the side decals are not.
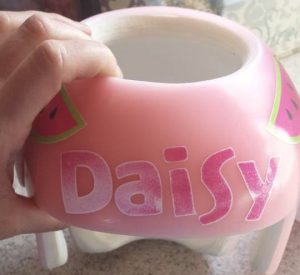
The image to the left shows a different kind of wear. There is a large blank portion in the middle of the decal.
It is likely that the mod podge over the design was thin, and some rubbing alcohol spilled in this area. Mod Podge softens and then dissolves quickly in. Then there was no mod podge over this area, and the ink in this specific area wore off. You can see some light fading around the blank spot. That mod podge has been worn down to nothing, and the rest of the decal will eventually look like the images above. It is not random that the damage is in the middle of the back of the helmet.
In Conclusion
We really, really want you to be successful at decorating your band with a design that will look fantastic and last the duration of your treatment. We created many pages and videos showing you step by step how to paint and apply different designs. And the same with protecting your design.
With each order, we include this this sheet, and we tell the truth when we say 99% of issues are not applying (or in some cases continuing to apply) mod podge. We show the real deal pictures if mod podge is not applied.
If you see ‘fading’ or broken portions or lifting edges, the issue is that there is no mod podge over those portions of the design right now. It does not mean there was never mod podge, but there isn’t any right now. There is no mystery to solve.
Without mod podge, children who rub the helmet on bedding or upholstery will rub the ink off the vinyl, and the decal edges will start to life, and sharp points or small portions will start breaking off. Please do not write a negative review because what we said would happen, happened. Every so often, sometimes folks do not follow the instructions, and they just assume they will get a refund or free replacements and then leave a negative review when we don’t. We do offer significant discounts on reprints, but we do not offer refunds or free reprints on mod podge damage.
Every week or so we recommend applying another coat. If your fingernail catches on the decal edges, it is time to apply more mod podge till they don’t.
Removing Mod Podge
You will need to remove the Mod Podge and decals if changing designs. Generally is easy to take the Mod Podge off it is built up to the proper thickness. Take a wet cloth and lay it over the mod podge for 3-4 minutes. It will scrape off easily, and having running water to help it wash away makes it even easier. Mod Podge usually, but not always, removes without damaging the decals.
Mod Podge can be wiped with a wet cloth without it getting sticky or turning to goo, but it cannot be submerged in water for long or it will start turning white, go soft, and eventually, goo.