The Viking baby helmet design is a little more complex to install than many other of our decals. Some fantastic customers did a step by step photo blog on how they applied the decals to their son’s cranial band in exchange for the first set of Viking helmet decals I created.
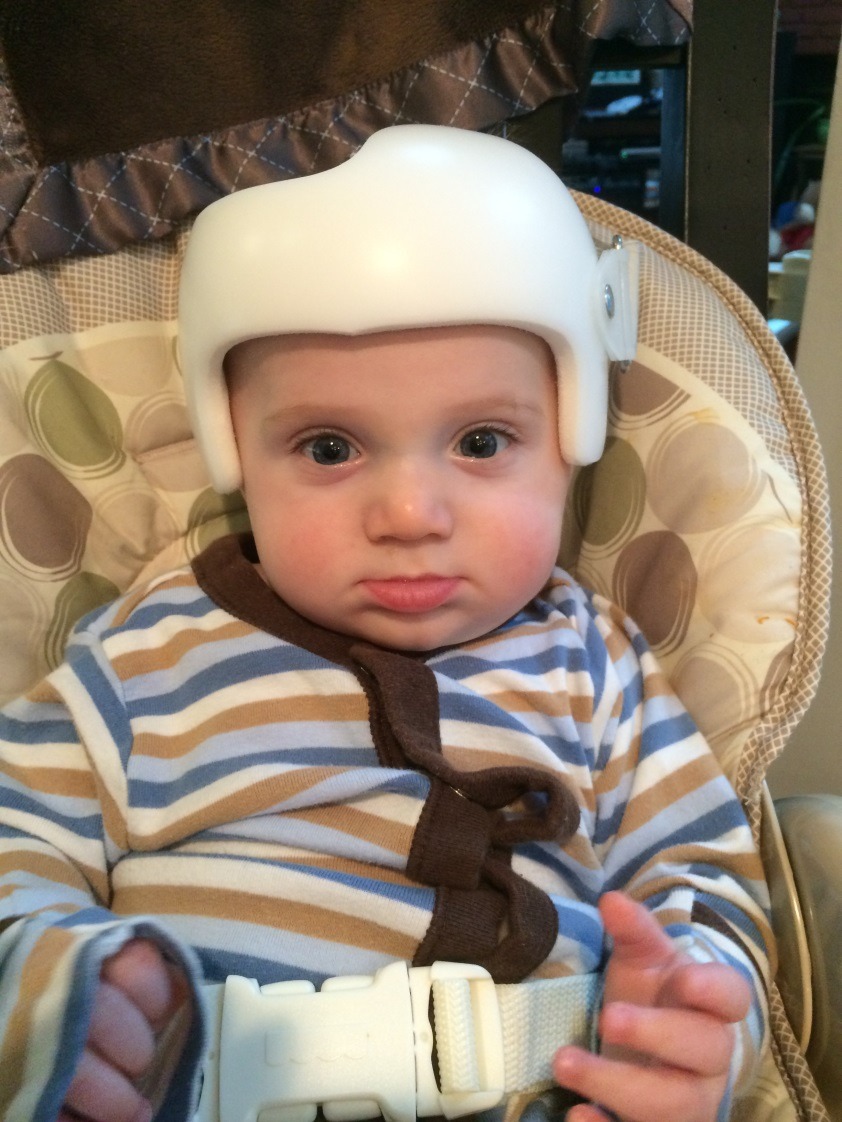 Hunter in his plain, white DOC band[/caption]First, they cut up the decals which ship in two separate sheets.
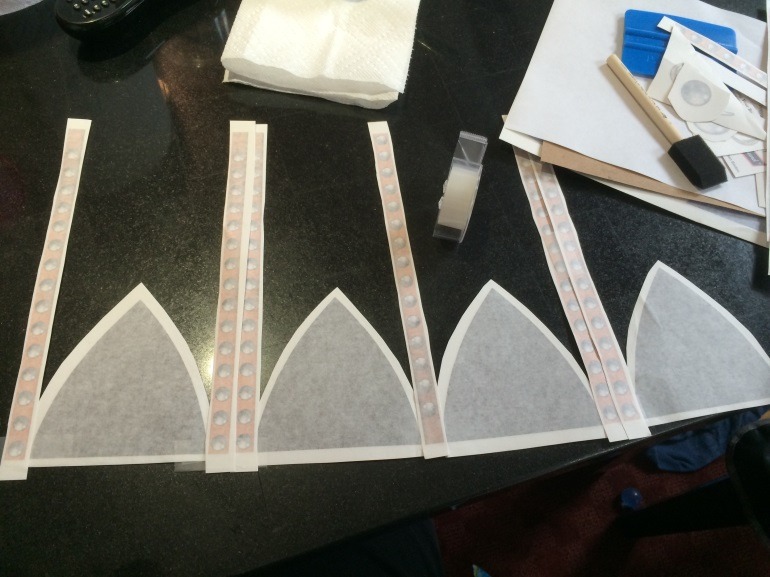
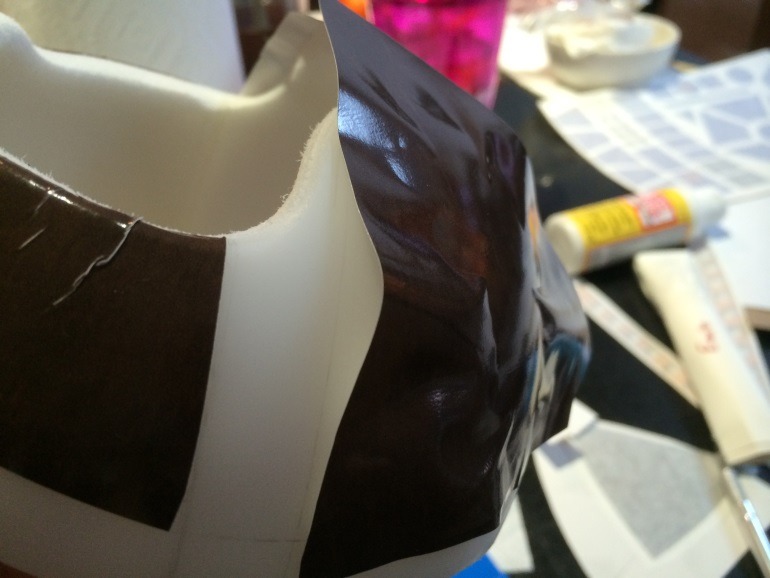
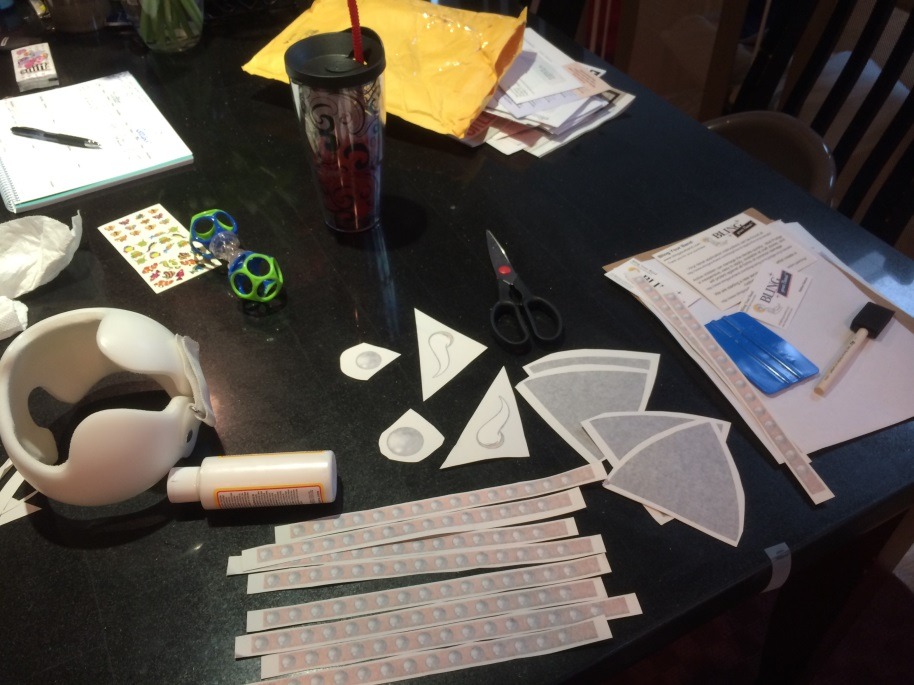 Cut the decals into separate partsWe suggest taping the decals in place to check the fit. The grommets need to cover the seams. If the helmet has a large diameter, two rows of grommets can be used to help make up the space.
 Getting the parts in place to check the fit Getting the parts in place to check the fit |
 Getting the parts in place to check the fit Getting the parts in place to check the fit |
 Getting the parts in place to check the fit Getting the parts in place to check the fit |
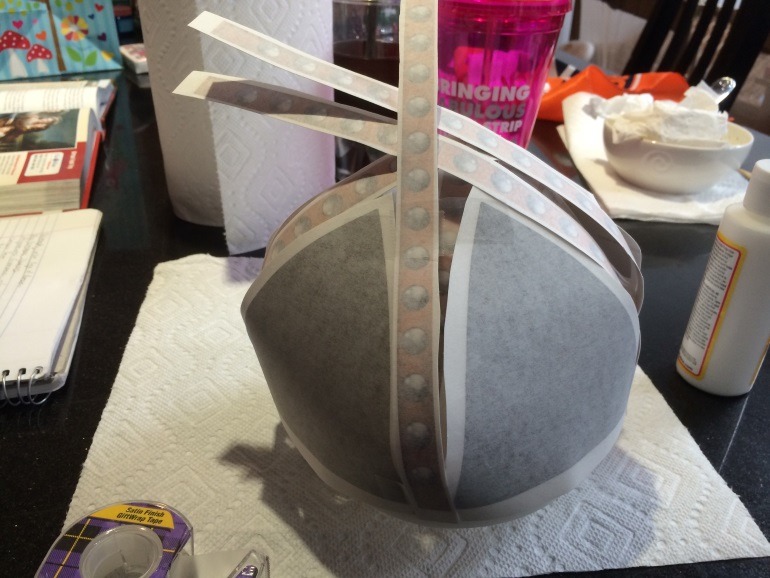 Getting the parts in place to check the fit Getting the parts in place to check the fit |
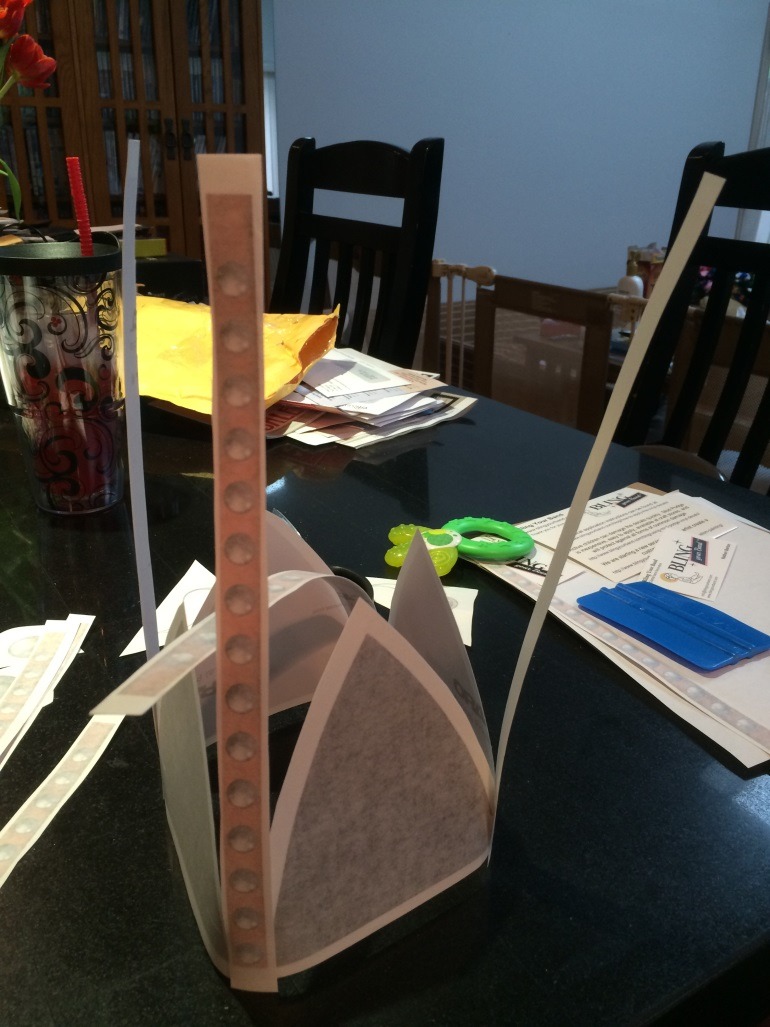
Once the parts all fit together to make design work, tape them together in the order they should go.
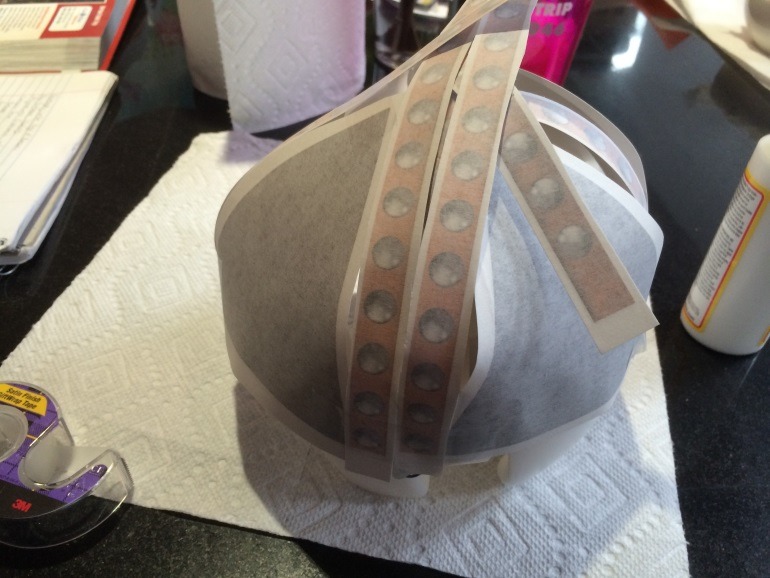 The design is mocked up in place The design is mocked up in place |
 And the pieces taped in the order they should go And the pieces taped in the order they should go |
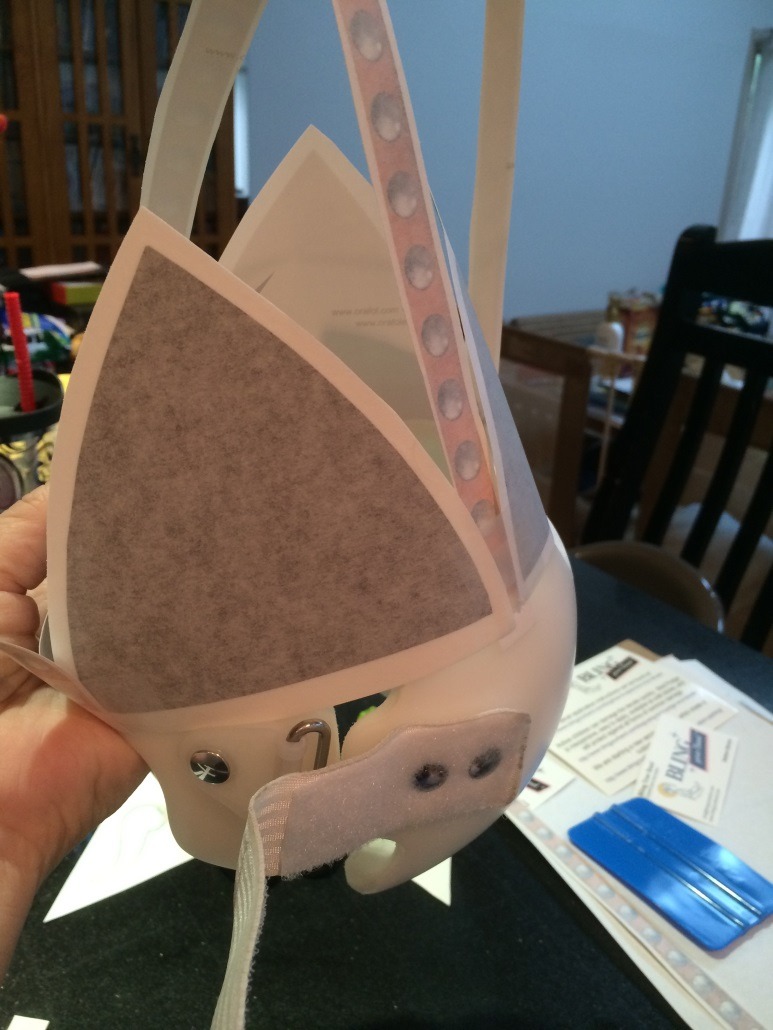
Mark on the helmet with a pencil where the panels should go.
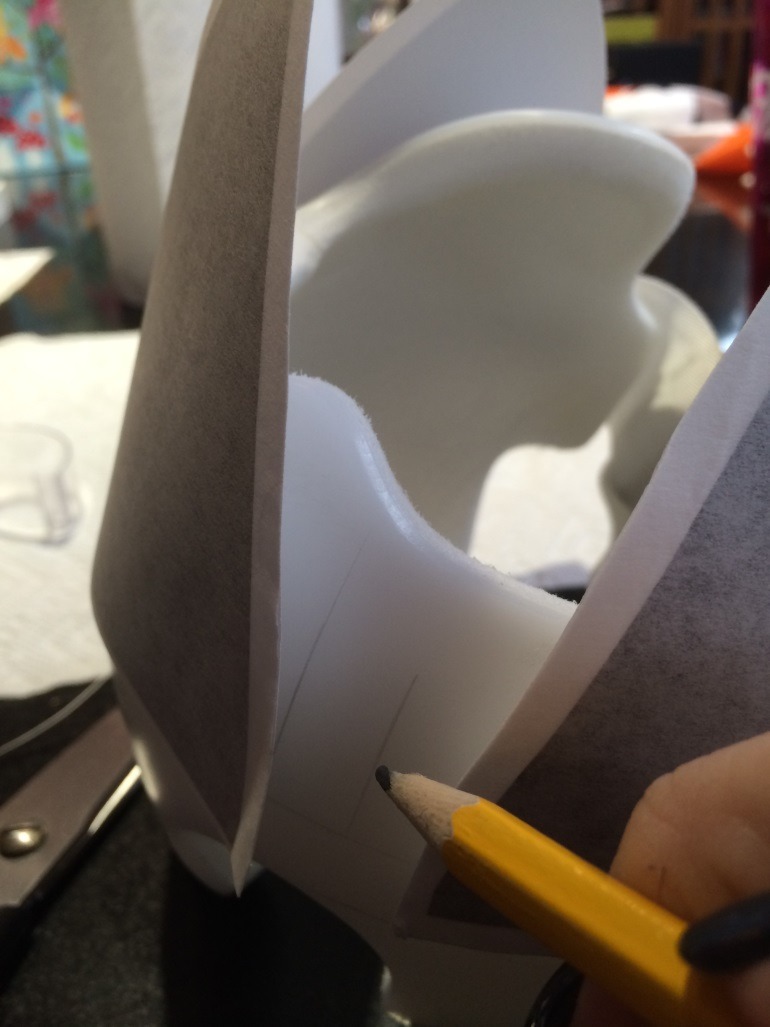 Mark on the helmet where the panels go[/caption]They considered their application of the panels to be very ham-handed, but that it all worked out in the end.
 Then decal application started Then decal application started |
 Carefully smooth and stretch the vinyl Carefully smooth and stretch the vinyl |
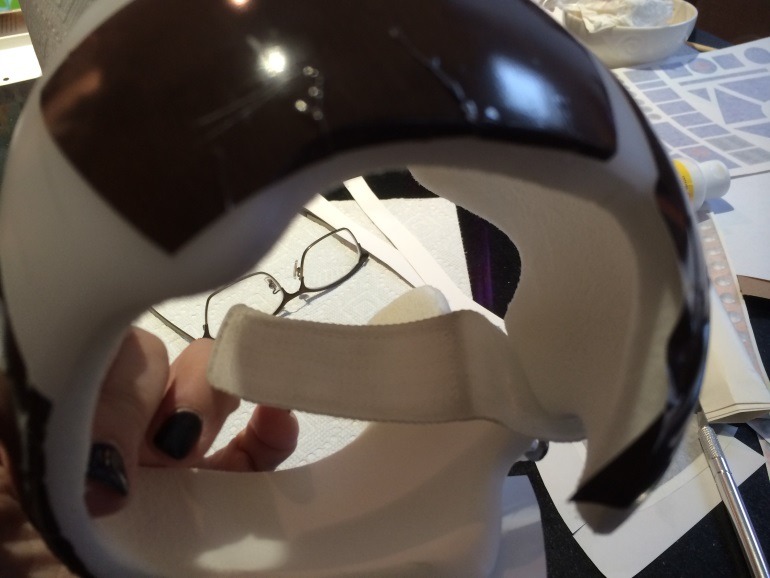
The biggest problem they had was a little failure to plan far enough ahead. The horns should have gone in the gap on the left hand side but the initial placement was off, so they had to move them back. If they had planned ahead, the side grommets would have gone over the side burn grommets.
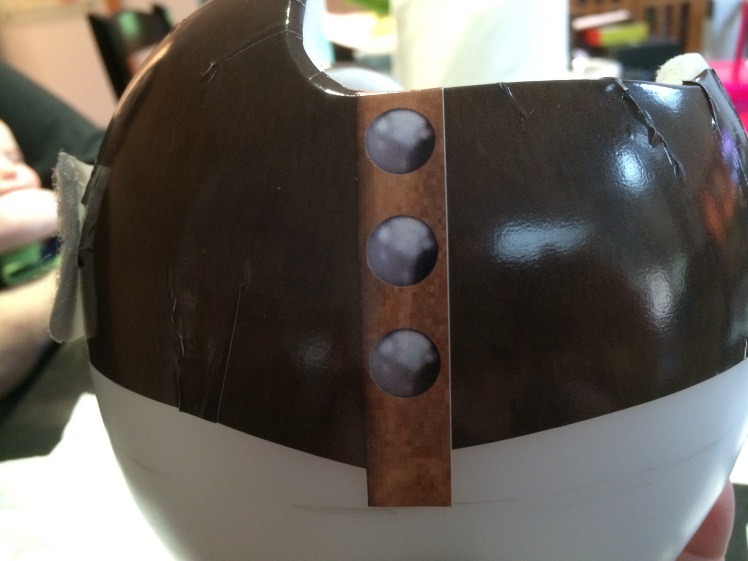 Adding each part of the design Adding each part of the design |
 Adding each part of the design Adding each part of the design |
 Adding each part of the design Adding each part of the design |
 Adding each part of the design Adding each part of the design |
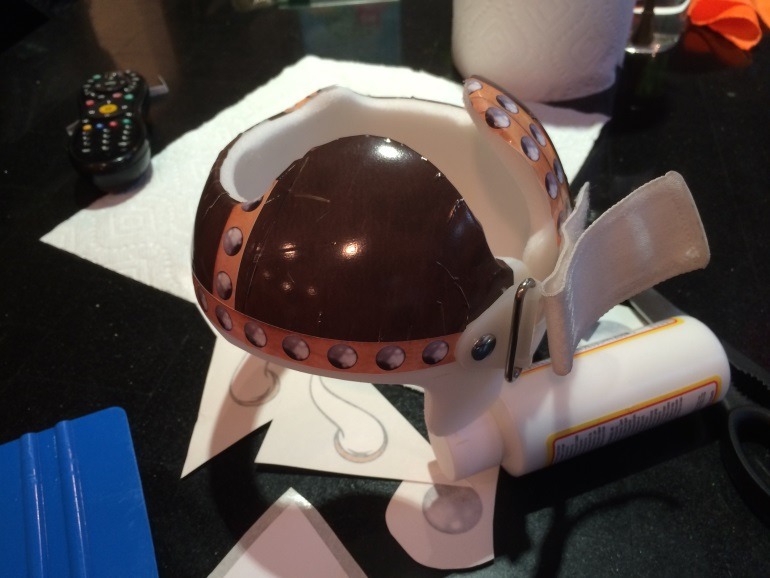
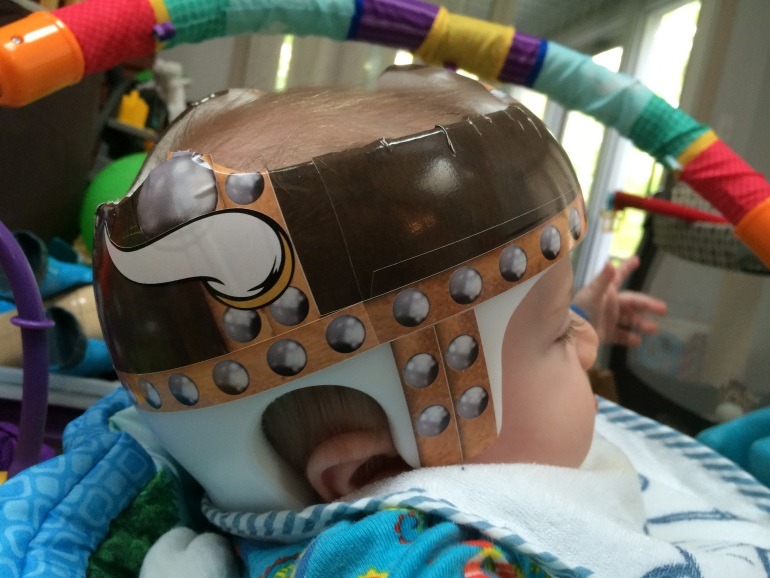
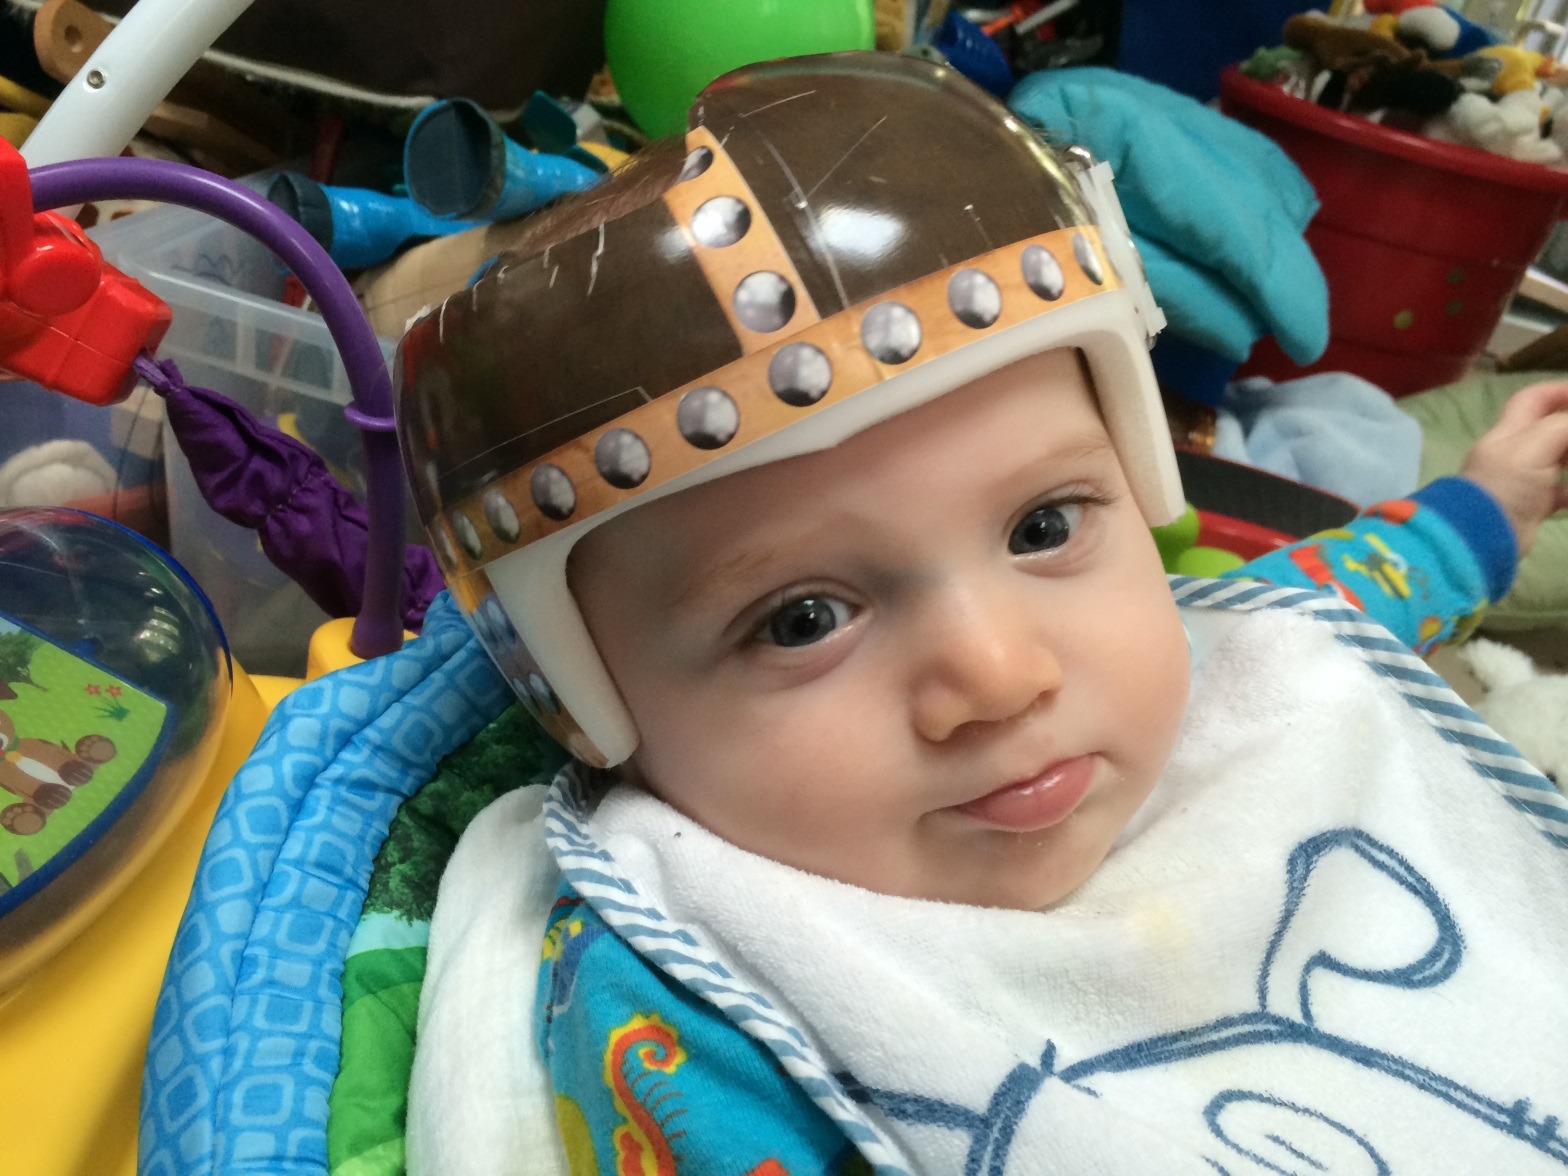
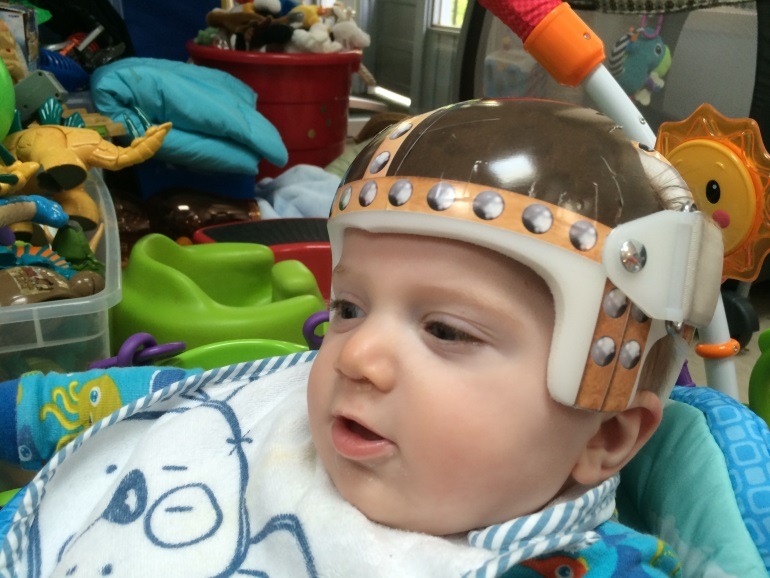 Hunter in his Viking Helmet Hunter in his Viking Helmet |
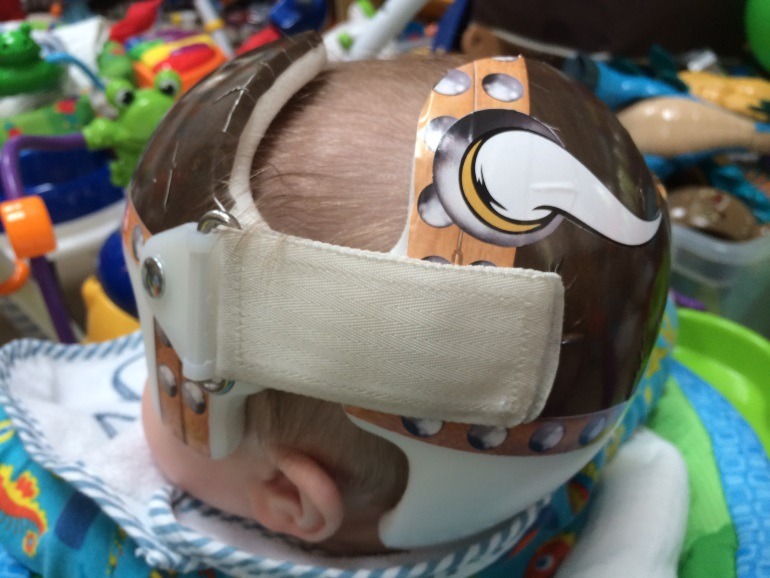 Hunter in his Viking Helmet Hunter in his Viking Helmet |
These pictures are all pre-Mod Podge. The Mod Podge smoothed out the patch-work lines very nicely.
 Hunter in his Viking HelmetThe following are notes quoted exactly from the folks who did all the work above and took the pictures:
“This is SO CUTE!!! I’ve gotten MANY compliments on this helmet. I think the decision to leave white was a good one, it looks more helmet-y. The vinyl did stretch, and I had to do some patch work. Maybe the 3 main helmet pieces could be a little bigger. (I eventually put a second line of grommets down the front) I used bronze colored Sharpie to make the cracks less noticeable (lent to the look of a forged helmet… very cool)
There were Plenty of Grommet strips. I had 3 whole strips leftover. If I could have sewn on a horn over the Velcro strip, that would have rocked.
Overall, I love the look of this and had A LOT of fun putting it on. Hunter only has 2 weeks to go (he’s getting out early!!!) so I’m going to switch over to R2D2. I’d have loved to see the Tron strips, but frankly, by the time they’re ready, Hunter will be out of his helmet. J
Thank you so much for this experience, I think this will be a good seller, you could Viking and knight (silver) versions.
So bullet points:
– Plenty of Grommet Strips, maybe suggest use of 2-3 rows between triangle “panels.”
– Triangle “panels” could be a bit bigger at the base. But don’t have to be very tall, as the tops of DOC Bands ™ are typically open.
– Possible sideburn panels? But the Grommet Strips worked well
Thank you,
El Wood”